MakeNine2022 · Sewing

Forty and Fabulous

At the beginning of this year, I promised myself that I would embrace my imminent “big birthday” and make a fabulous dress that I could wear as part of the celebrations, and also continue wear.

Unfortunately “THE plague” finally found us the week before my 40th birthday so lots of plans were cancelled and I didn’t get to go to the theatre in this lovely frock.

Six weeks later, we re-booked to see Anything Goes and I got to wear my dress.

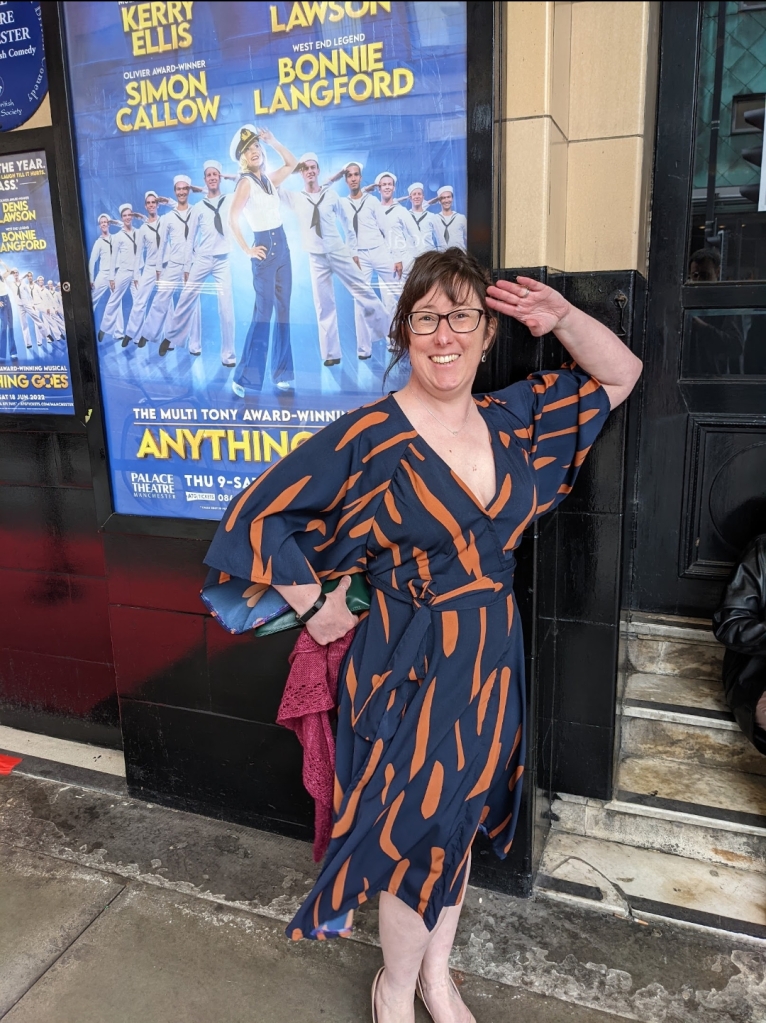
After a fair amount of research, I decided to make the Victory Patterns Trina dress. I lusted after the version on the pattern cover a while ago and it was in my wish list on The Fold Line. I loved the wrap style and billowing sleeves. What I didn’t realise was how clever the bodice construction is….but more on that soon.

Fabric focus

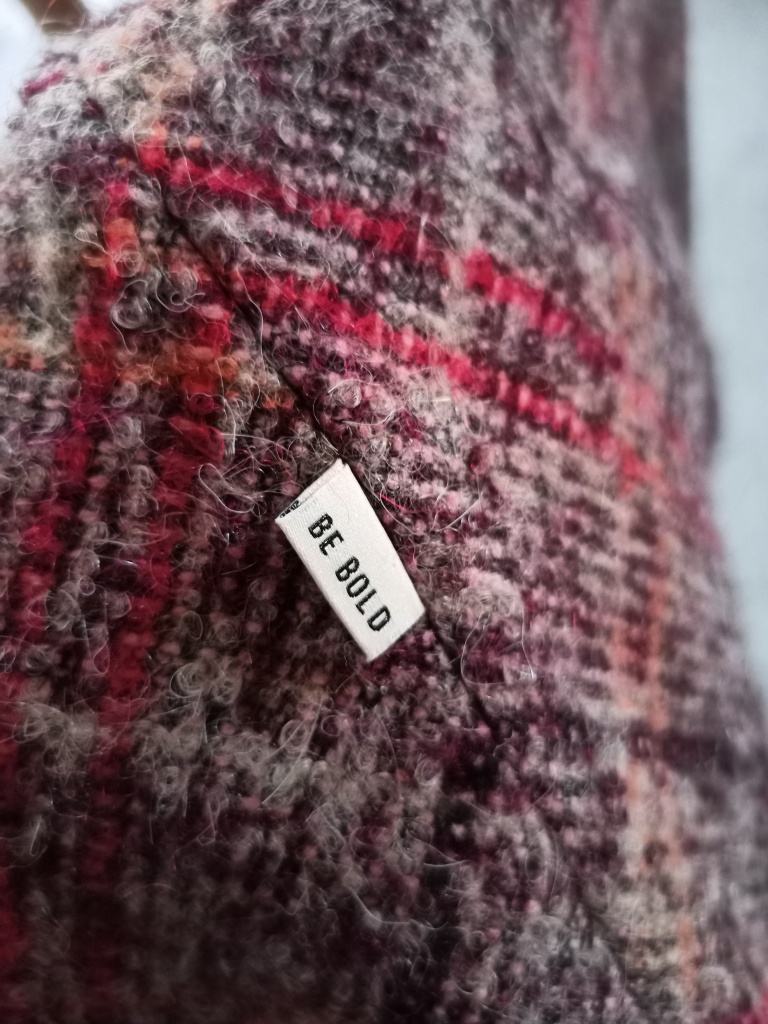
I had 4m of this rust and blue viscose from Rainbow Fabrics in my Make Nine 2022 and decided it was a good match. It’s a slightly thicker viscose than others I’ve worked with, almost like a thin crepe. This is good because it meant I didn’t need the suggested lining for the skirt, so less cutting out and significantly less hemming required.

I nearly picked a green and pink spotty satin but I was worried that satin would make it look like a dressing gown, which wasn’t the look I was going for!

Gathers on raglan sleeve

Always toile a wrap dress

One of my “sewing rules” is to always toile a wrap dress. With some garments, I get away without a toile – either because I know alterations needed with certain pattern companies, or it’s a loose fit. However wrap dresses (and tops) are top of the list of patterns that I wouldn’t risk.

I mocked up the bodice of my Trina dress and am very glad I did. Here’s why:

  • My toile was a size 10. For my final dress, I cut an 8 for the bust and waist, grading to a 10 on the hip
  • I shortened the bodice by 1cm
  • I took 3″ off the sleeve length
  • I also cut the skirt length at the suggested lining length, rather than the full skirt length (I’m 5’2″)

I didn’t actually need to modify the wrap element which was a relief.

Construction

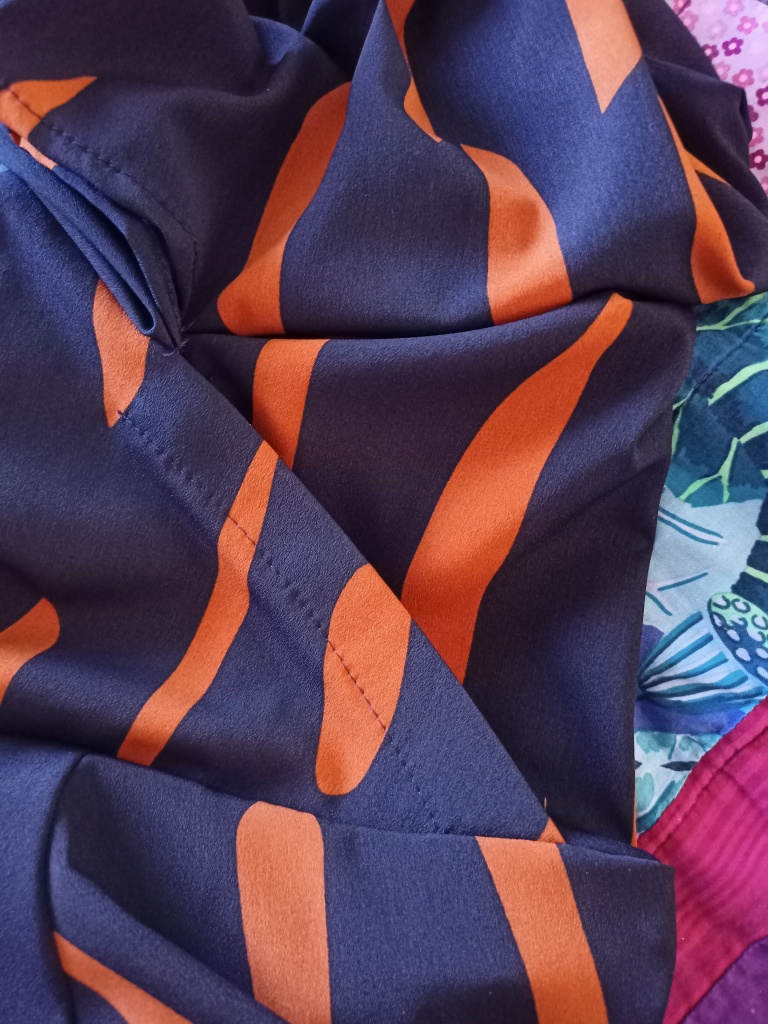
I have two main thoughts about constructing this dress. The first thought is linked to the fabric, which required ALL THE PINS. Usually I prefer to work with wonder clips but this slippery little sucker (Pretty Woman throwback) needed pins. This is mainly because I can’t get as close to a clip with the sewing machine needle before un-clipping. With a pin, I can be practically on top of the pin before whipping it away, ensuring more accuracy.

My second main thought is that the bodice construction is so interesting. I’ve tried to get a photograph but it’s really hard. I’ve come across a few wrap garments where there’s a gap in sewing left to pull the tie through, or a hidden button inside is used. With the Trina dress, the front and back bodice are overlaid at the side, meaning there’s a secret gap to pull the tie out of. Very clever and very hard to describe!

Bodice wrap over for tie exit

After swanning around the house in a Lemsip haze, I decided to put a modesty snap on the front. With the fabric being quite slippery, I decided it was better to be safe. It would be ok for sitting in the theatre but wouldn’t stay in place during a night of dancing at a wedding.

As a little bonus, here’s the cake my parents got me for my birthday, that I didn’t see in person because I was isolating! My family deconstructed it, ate half and put half in the freezer. When we got together a few weeks later, we reconstructed it and I finally got a piece.

Thanks for reading :o)

MakeNine2022 · Sewing

Annoying Edna Mode

Having a backlog of makes to photograph means that I blog more regularly. These pictures were taken on the same day as my Flax Sweater ones so we have a blog queue-jumper on our hands today.

Edna Mode, the seamstress responsible for the superhero suits in The Incredibles has valid reasons for her aversion to capes. Whenever I see a cape, I hear her in my head saying “no capes!” and it makes me grin. However, seeing the 2019 remake of Little Women sparked my interest in wearing one myself. The sisters look so stylish in their capes in the film and, let’s face it, I’m unlikely to be “sucked into a vortex“* like Splashdown, so I think I’m ok!

I thought there wasn’t much to look for in a cape, but there are quite a few out there with various design features. The I AM Mimosa appealed to me because it had pockets (essential) and a nice deep funnel neck.

Cape reservations

It took over 3 years, and re-watching Little Women to convince myself to make one. In truth, I wondered whether I would feel self-conscious in something as “cool” as a cape. In actual fact, it’s effectively a coat without the fuss of fastenings so I don’t know what I was worried about. It’s also great for wearing with puffed-shoulder sweaters that don’t fit into my Opium sleeves.

I stitched a “Be Bold” label into the side seam to remind myself to wear my cape with pride. Coincidentally, the red stripes on the fabric match perfectly just above the label, so a “Be Smug” label would also be appropriate.

Fabric

I bought this checked wool from Rainbow Fabrics, which was my first foray into checks apart from dabbling with flannel for pj bottoms. To ensure I cut the pieces straight, I cut on the flat which takes much longer than twice the time, but is totally worth the effort.

The lining feels amazing against my skin. It’s a bemberg cupro from Guthrie Ghani and neatly hides the pocket linings from the inside. It’s listed as violet, but I call it “Dairy Milk purple” and I’m sticking with that!

Sewing it up

Once the welt pockets were complete (why do I do this to myself?), it was a really easy sew. For beginner sewists, or those who don’t like to punish challenge themselves, there’s the option of no pockets, or creating some simple patch pockets. In actual fact, the pockets are far too small and don’t fit much in them but they do fit my tiny hands. If I was to make again, I would probably use the Opium pocket pieces, or patch pockets.

The wool is quite scratchy so I decided to line my cape. The pattern doesn’t come with lining instructions but I had read a few reviews online where other people lined their Mimosas. To do this, I cut the body and neck pieces in both the main and lining fabric. For the cape, I made two capes (one from lining and one from wool), then tacked them wrong-sides together at the neck to form one “cape”.

For the funnel neck, I stitched the wool to form a cylinder, did the same with the lining, then stitched right-sides together along the top and turned so that the lining was inside. I caught it all together with a line of top-stitching. Then I followed the pattern instructions to attach to the cape.

All this said, a lining isn’t necessary, particularly if you use a felted wool, which is one of the fabric suggestions on the pattern.

Early on, I decided to finish the hem with bias binding. I treated the cape as one piece of material at this point. One beauty of wool lies in its stability, which meant I was confident the hem hadn’t dropped on the outer. Bemberg cupro is the opposite and needed a few days to drop, then be levelled off.

I finished with a satin bias binding to enclose the lining and wool together. It means my cape is slightly shorter than the pattern but that doesn’t matter as I’m petite.

To finish with a giggle, here’s the result of me saying to Mr Mouse “can you take some pictures that show how well I matched the red stripes of the neck and cape?”….harder than you think! Thanks for reading :o)

* Source: Edna Mode!